
Monk Makes, makers of the popular starter kit for the Raspberry Pi, has recently released some new k
Read more
In this tutorial, we’ll be building a smart ‘Internet of Things’ (IoT) connected a
Read more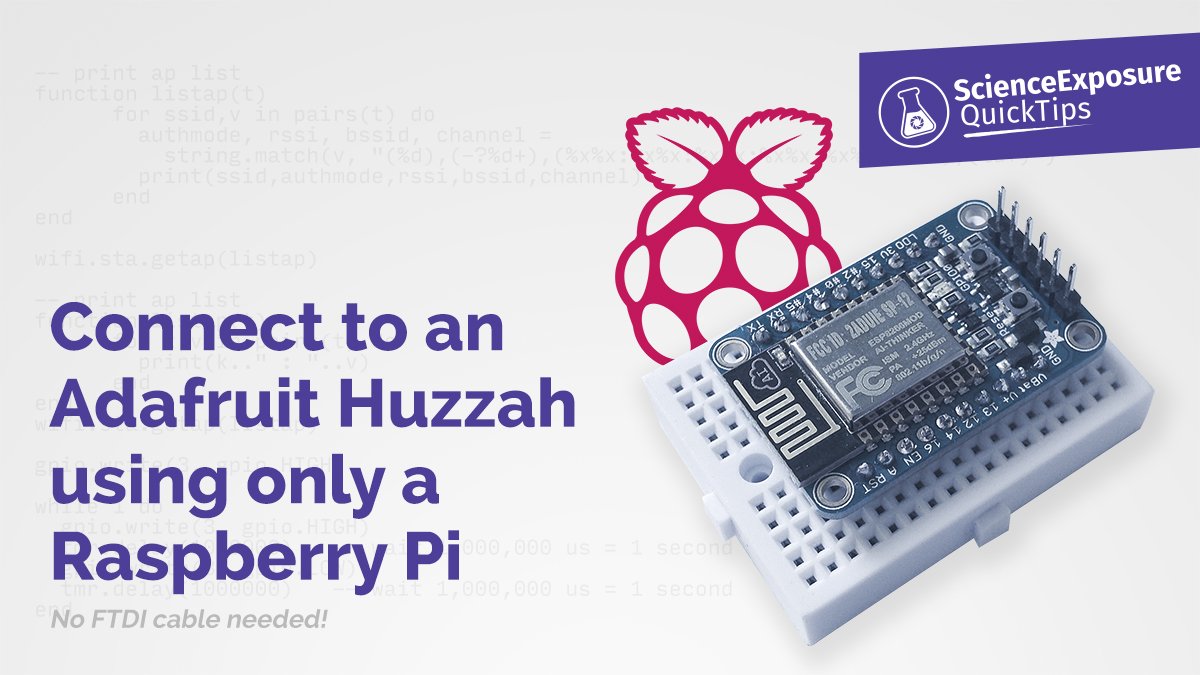
Here’s a quick tip showing you how you can connect to Adafruit’s HUZZAH ESP8266 breakout
Read more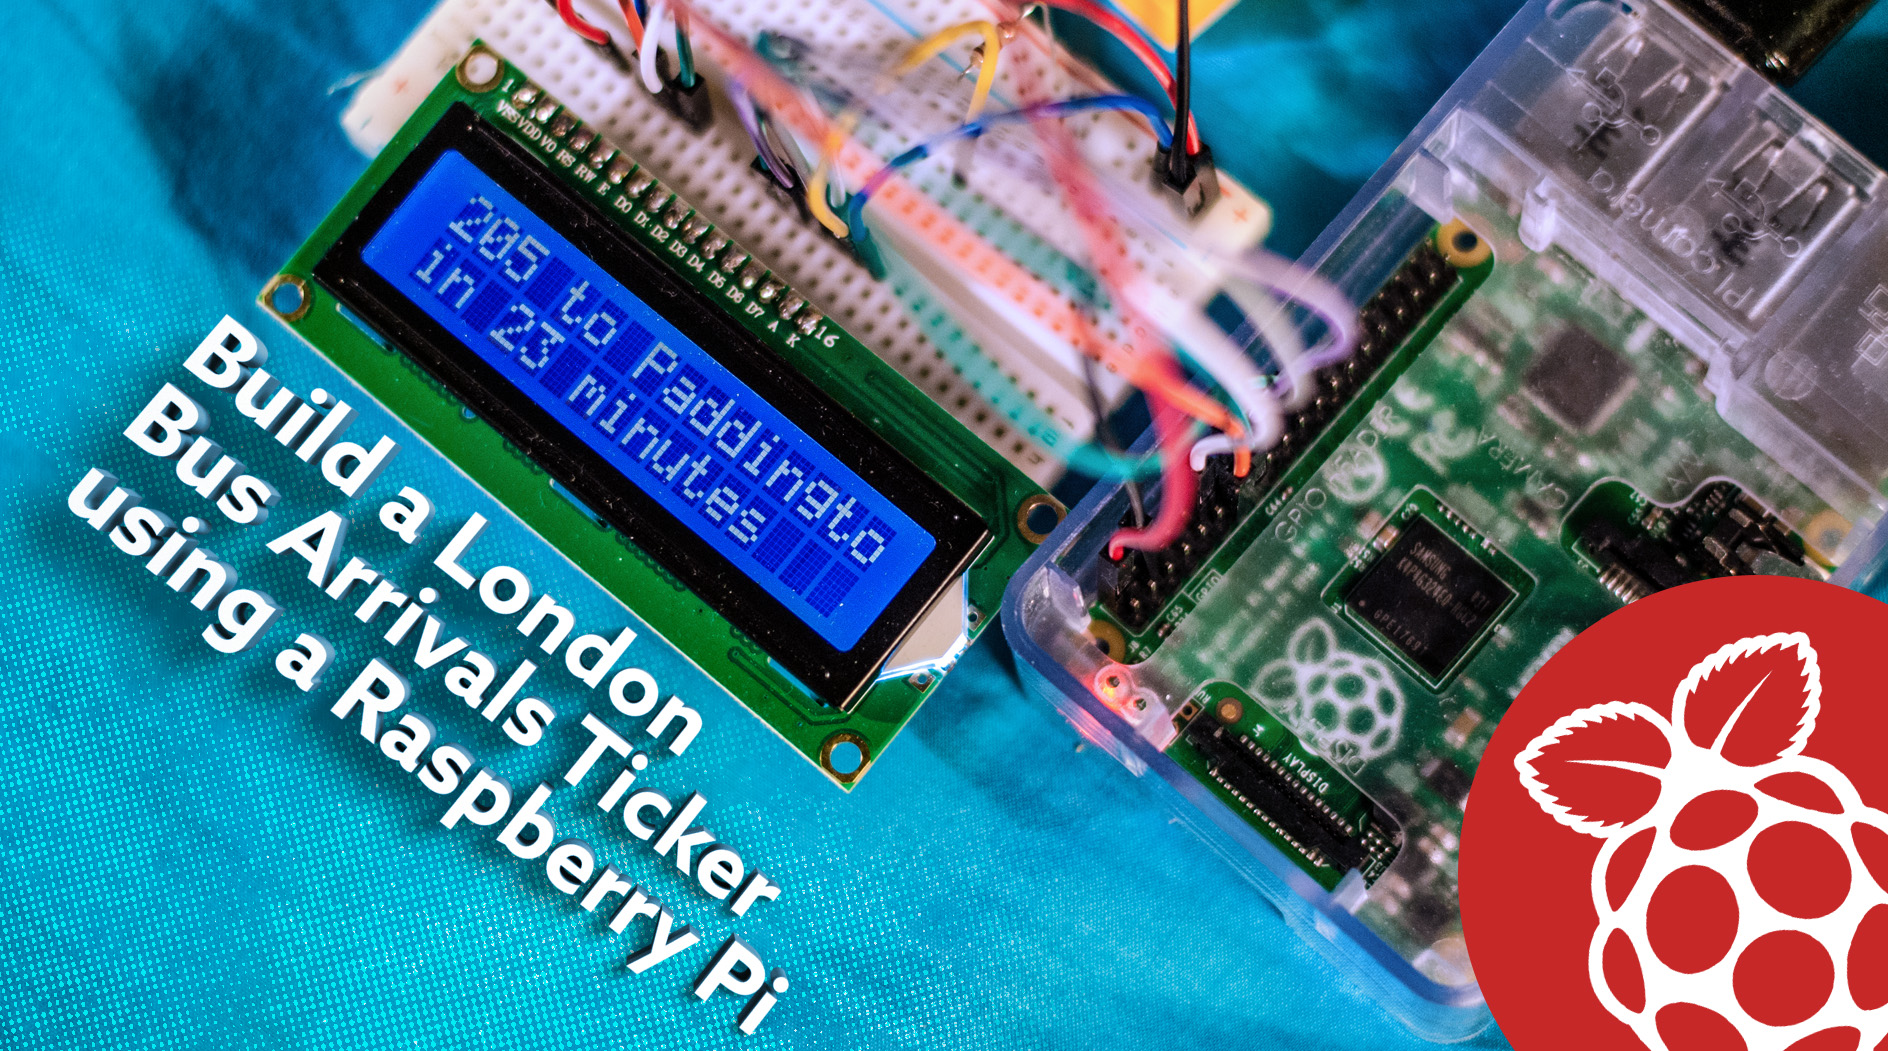
If you’ve ever had to wait for a bus in London, there’s a good chance you’ve used
Read more
In this tutorial, we’ll be building a smart ‘Internet of Things’ (IoT) connected a
Read more
Here’s a quick tip showing you how you can connect to Adafruit’s HUZZAH ESP8266 breakout
Read more
LED matrices are quite popular amongst makers these days, but being able to upload a cool 8&#
Read more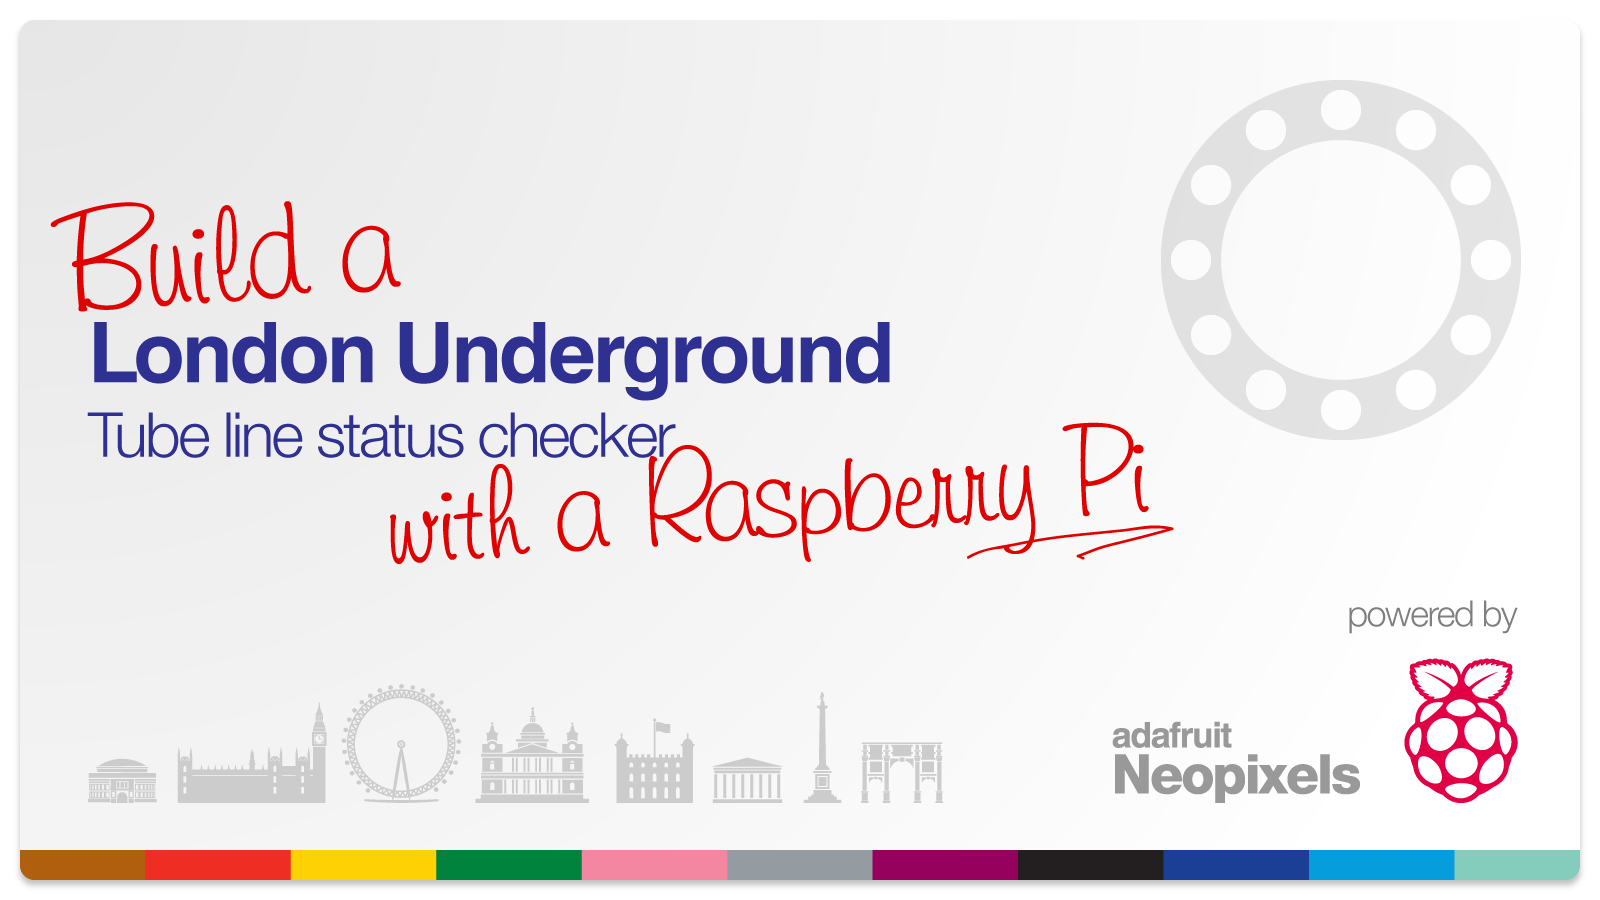
In this quick tutorial, we’ll put together a snazzy London Underground tube line status checke
Read more